Examples are valid for:
| TM robot hardware version | TMflow software version | GPU specifications
(only support short cards, lengh is about 17cm) |
| Version before HW3.2 | 1.76.6300 to 1.88 | NVIDIA GTX 1660 series |
| HW 3.2 | 1.88 and 2.14 to 2.18 | T1000 8GB
(GPU driver corresponding version 473.47) |
| 2.20 or above | T1000 8GB
(GPU driver corresponding version 552.74) |
|
| HW 5.0 | 2.14 to 2.18 | A2000 12GB
(GPU driver corresponding version 473.47) |
| 2.20 or above | A2000 12GB
2000 Ada 16GB (GPU driver corresponding version 552.74) |
Notice : TMflow 2.14.5900 or later version include a built-in GPU driver, eliminating the need for manual installation.
GPU driver corresponding version
473.47 : https://www.nvidia.com/download/driverResults.aspx/189201/en-us/
552.74: https://www.nvidia.com/en-us/drivers/details/228841/
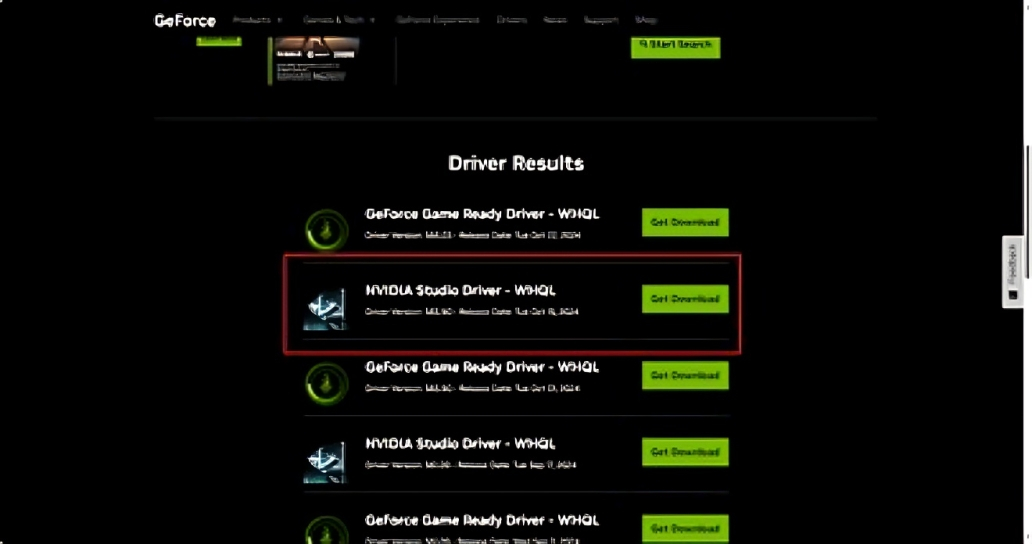
Select Stable NVIDIA Driver :
When installing the corresponding graphics card driver, the official website offers two options:
- Game Ready Driver (GRD)
- Studio Driver (SD)
The Studio version of the driver updates is slower but relatively stable; it is recommended to prioritize the installation of the Studio version.
Dongle Key : required
Operating system : Only supports Win10 x64
Note that older or newer software versions may have different results.
GPU Installation #
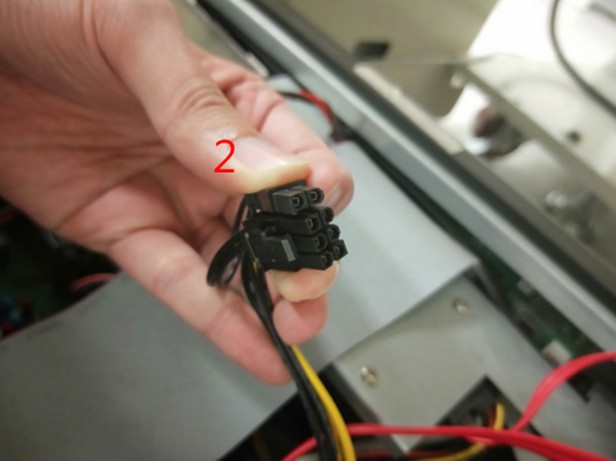
- In HW3.0 hardware version, the power supply line is 6 pin. When purchasing a GTX 1660 cards, the power line must be replaced with an 8 pin (an additional 6-to-8-pin conversion line must be purchased), while HW3.2 hardware directly supports 8 pin power supply lines.
- HW 3.2 (manufactured before November 2019) requires changing the long line or changing the version to install the GPU, otherwise it may cause the IPC to fail to shut down normally. The built-in 8 pin power supply can be used directly.
- HW5.0 can be installed by plugging in the GPU directly. The built-in 8 pin power supply can be used directly.
Remove the I/O module cable.
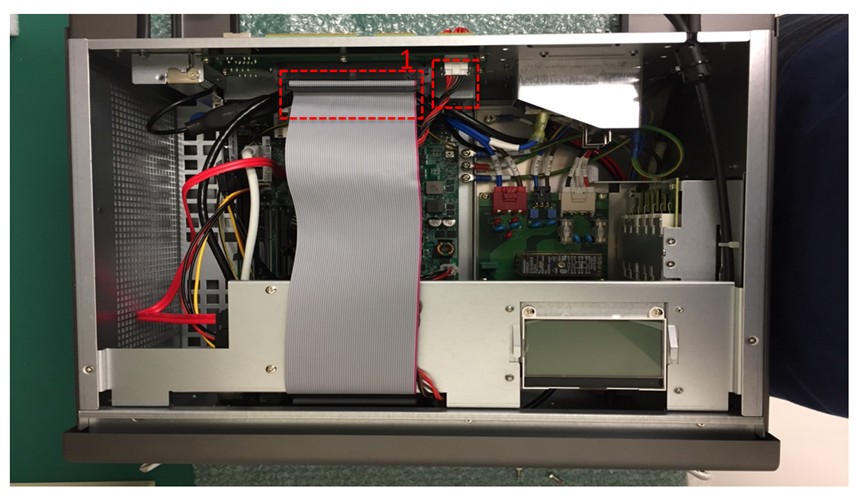
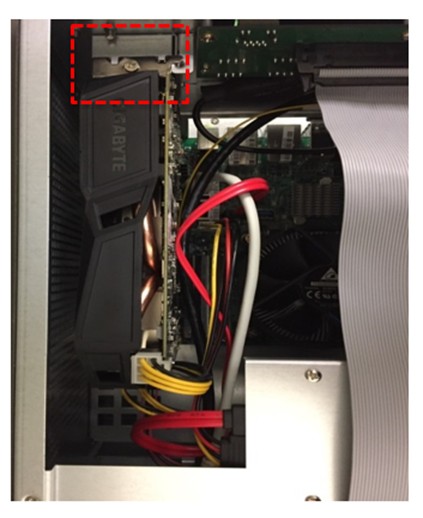
Insert the GPU into the left slot of the IPC and use the screw lock attached.
- Confirm whether the power supply pin number is correct.
- If the power supply is 6 pin, change the line to 8 pin.
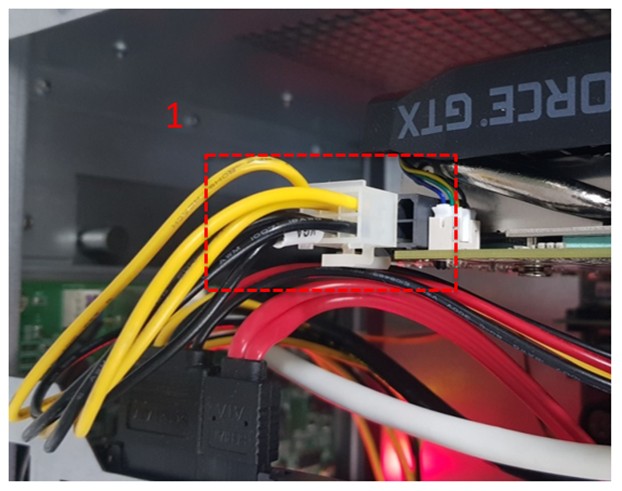
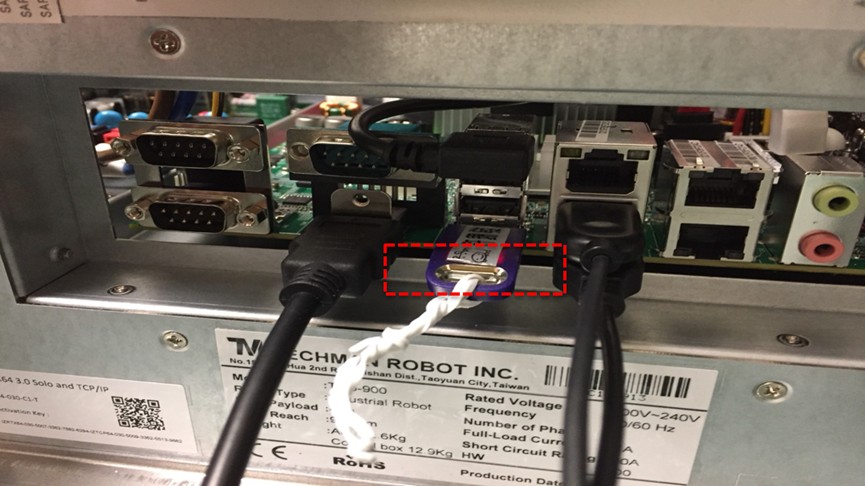
Turn on the IPC after plugging in the Dongle.
Software Installation #
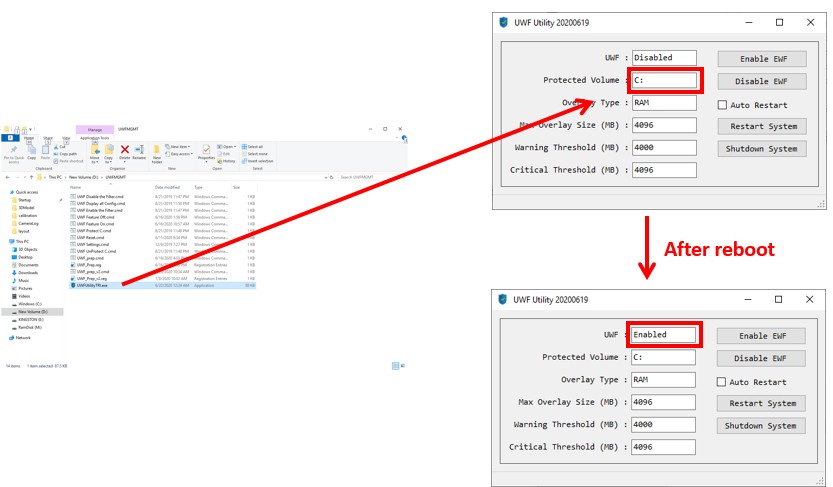
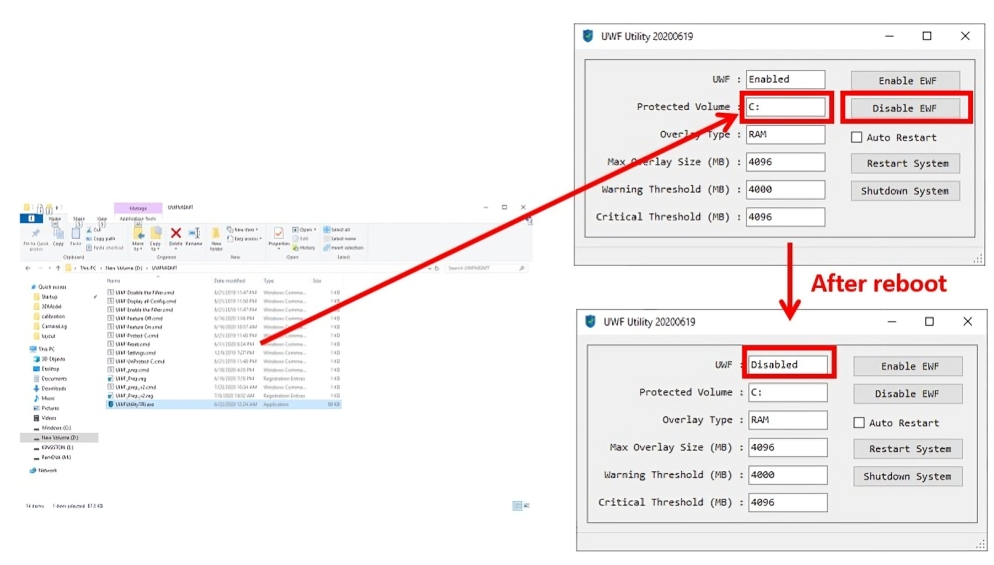
Disable UWF #
- Use the UWF command under the path D:\UWFMGMT
- After opening UWFUtilityexe, set the target to C: and press the Disable button
- Reboot to complete disabling UWF
- Open UWFUtilityTRI.exe to confirm UWF is Disabled
Install NVIDIA GPU Driver #
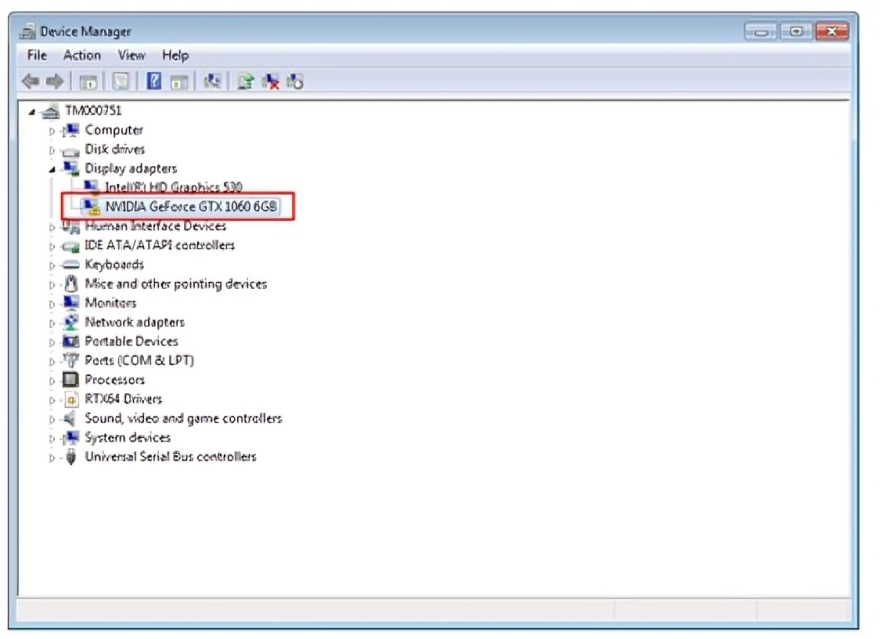
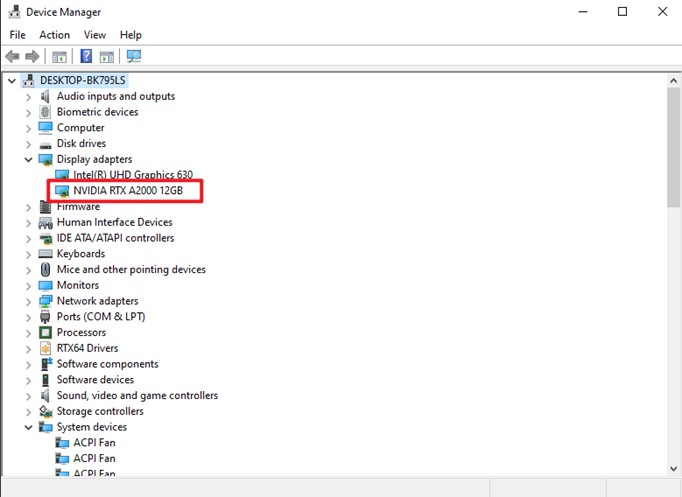
Before installing the graphics card driver, ensure that the graphics card is visible in Device Manager.
The device name might be incorrect due to the driver not net being installed.
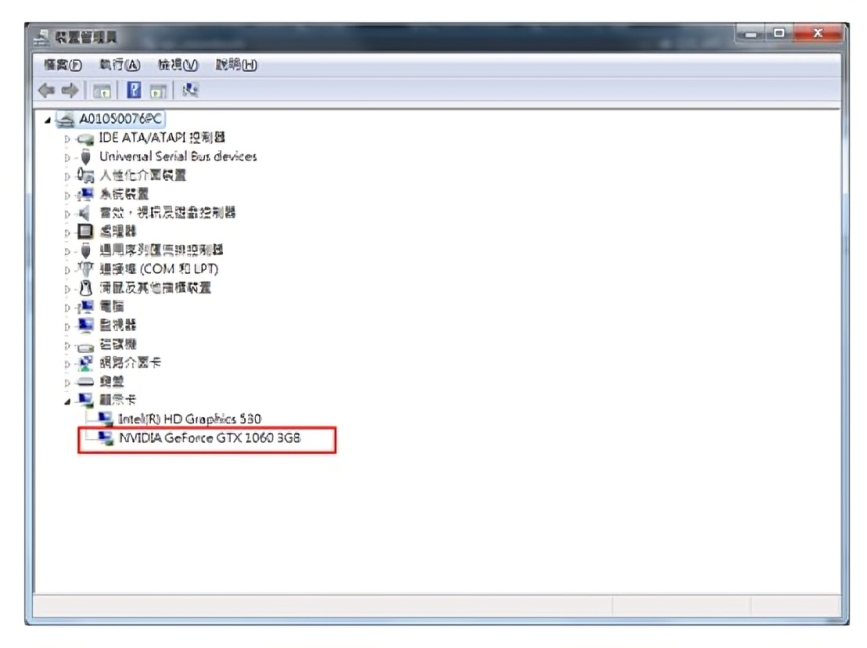 If there is an “exclamation mark” symbol next to the device, please check that the power pins are properly connect or ensure that the graphics card is correctly seated.
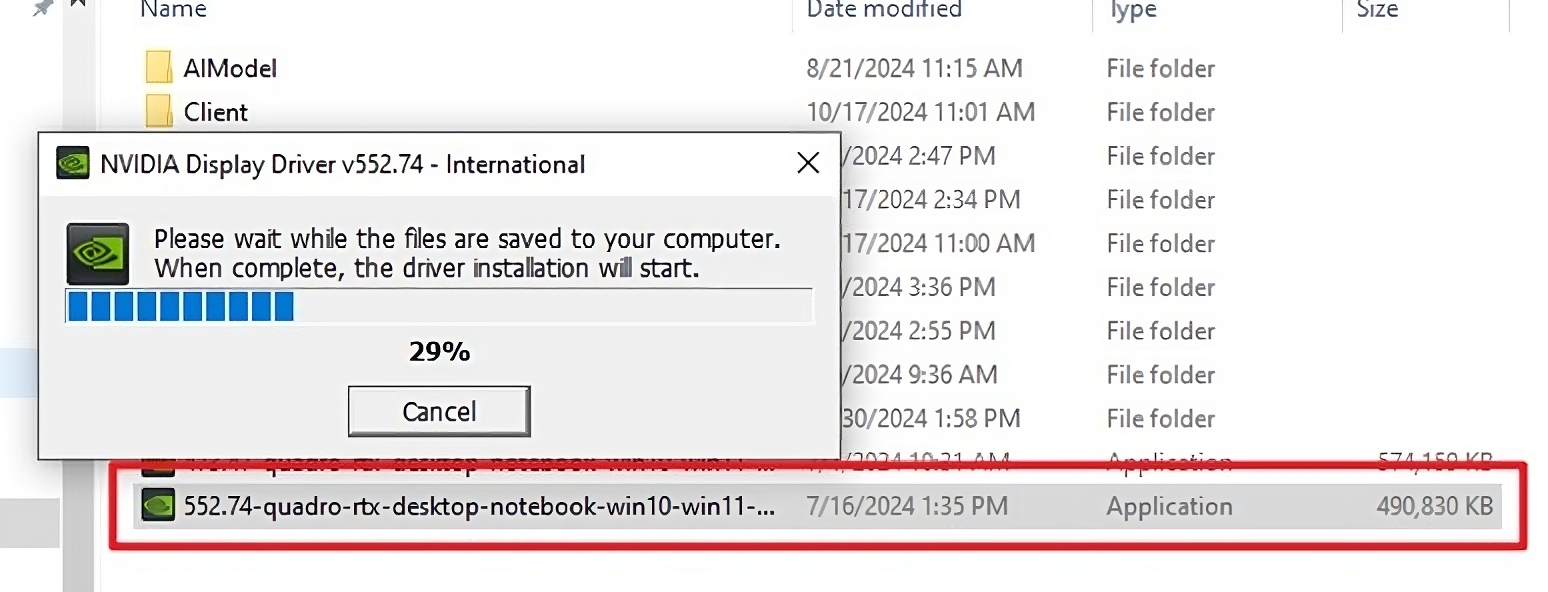
Launch the driver and follow the installation steps provided by the NVIDIA
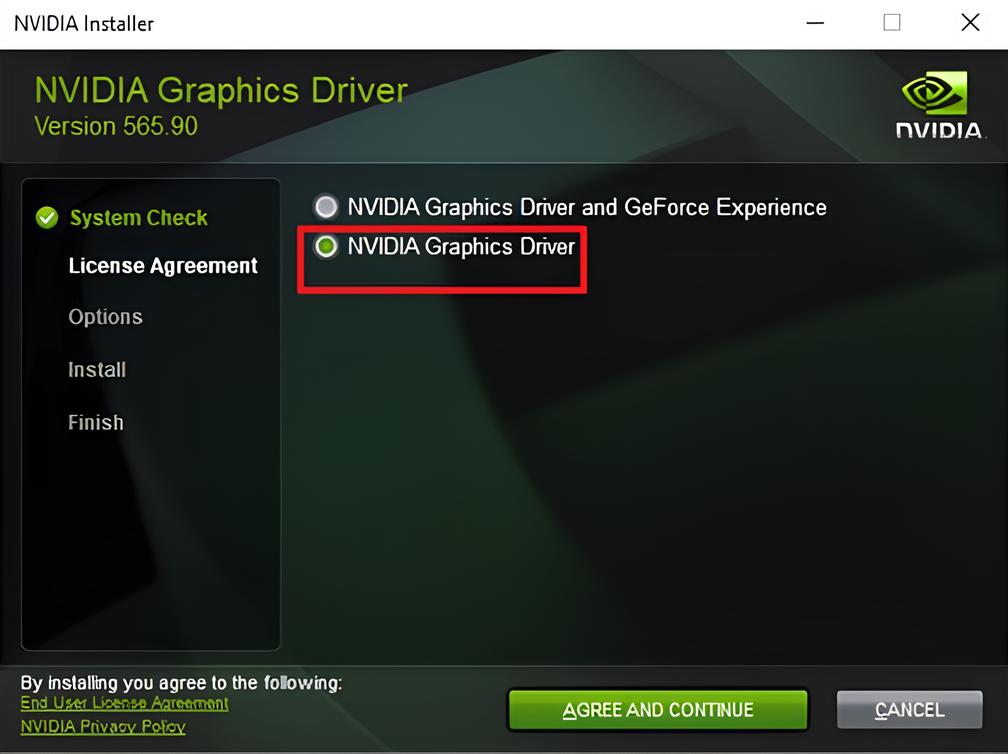
When installing the NVIDIA driver, if there are two options available :
- NVIDIA Graphics Driver and GeForce Experience
- NVIDIA Graphics Driver
Please select NVIDIA Graphics Driver for installation. This method will not include the NVIDIA LocalSystem Container service.
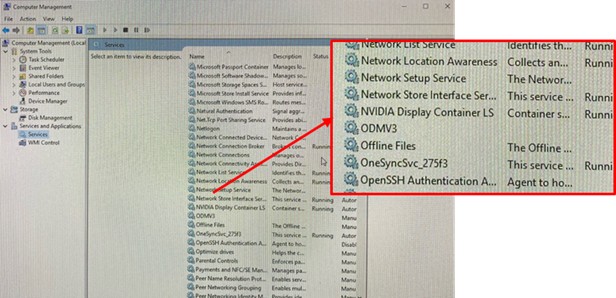
Check GeForce Experience #
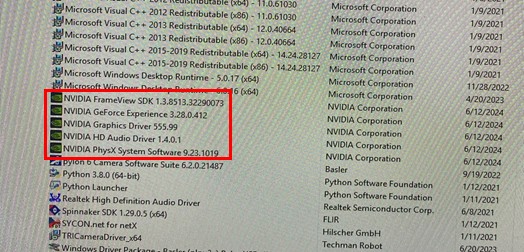
If you’re unsure whether GeForce Experience was installed, you can check by going to Control Panel > Programs > Uninstall a Program.
If it is installed, please uninstall all NVIDIA-related programs and reinstall the driver as instructed on the previous page.
If the installation is successful, you can see the name of the installed GPU in the device manager.
Enable UWF #
- Use the UWF command under the path D:\UWFMGMT
- After opening UWFUtilityTRI.exe, set the target to C: and press the Enable button
- Reboot to complete enbaling UWF
- Open UWFUtilityTRI.exe to confirm UWF is enabled

