Table of Contents
Brief Introduction #
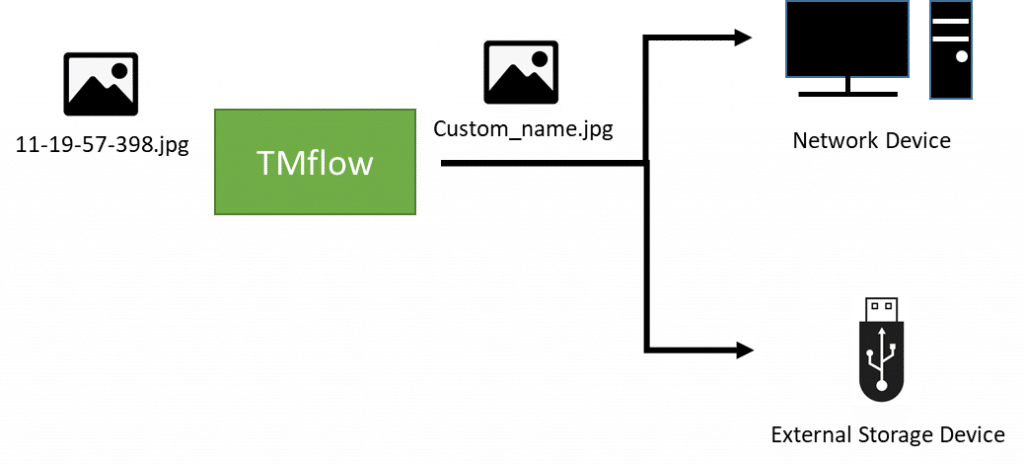
This document will introduce how to use the attached TM Component to achieve the name of the custom vision job save image, e.g., using the Barcode identification or Pass/Fail result as the name of the saved image. So that these images can be used in the follow-up It is more convenient to view or manage.
Hardware Required #
- HW3.0 or above (x64)
- External storage device ( or Network Service path )
Software Required #
- TMflow 1.84 or above
File Required #
- Download : Vision_Techman_1842000_V001_SaveImage.zip

- Download : Vision_Techman_2141700_V001_SaveImage.zip

Document Reference #
- TMflow software manual
Procedures #
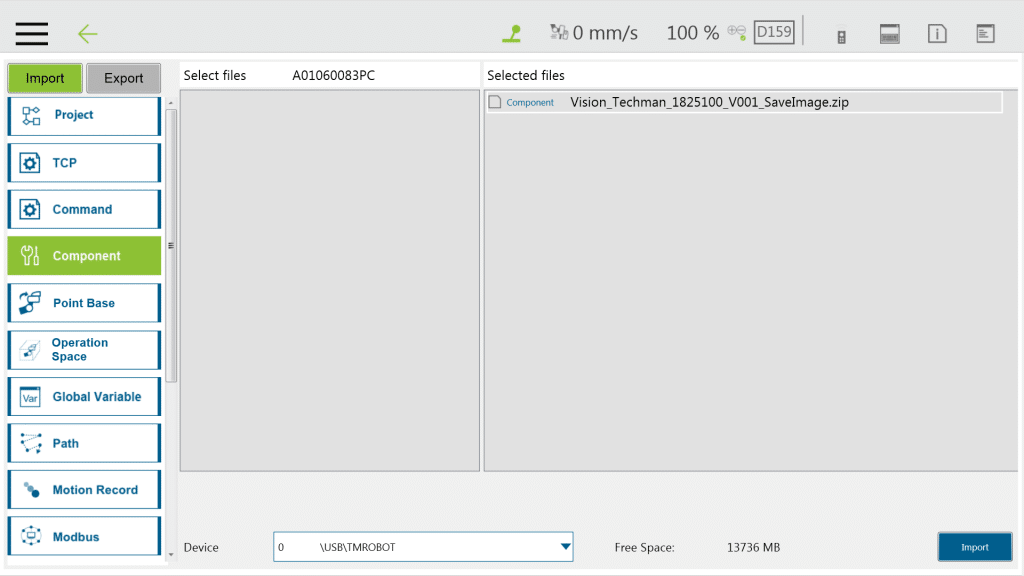
- Import the Component (System Setting -> Import/Export)
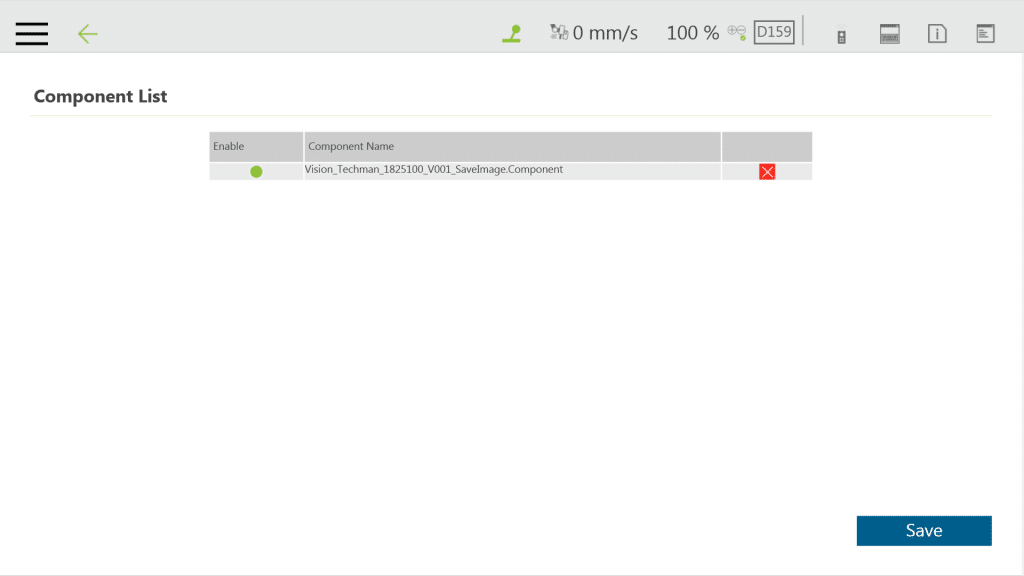
- Enable the Component (Robot Setting -> Component)
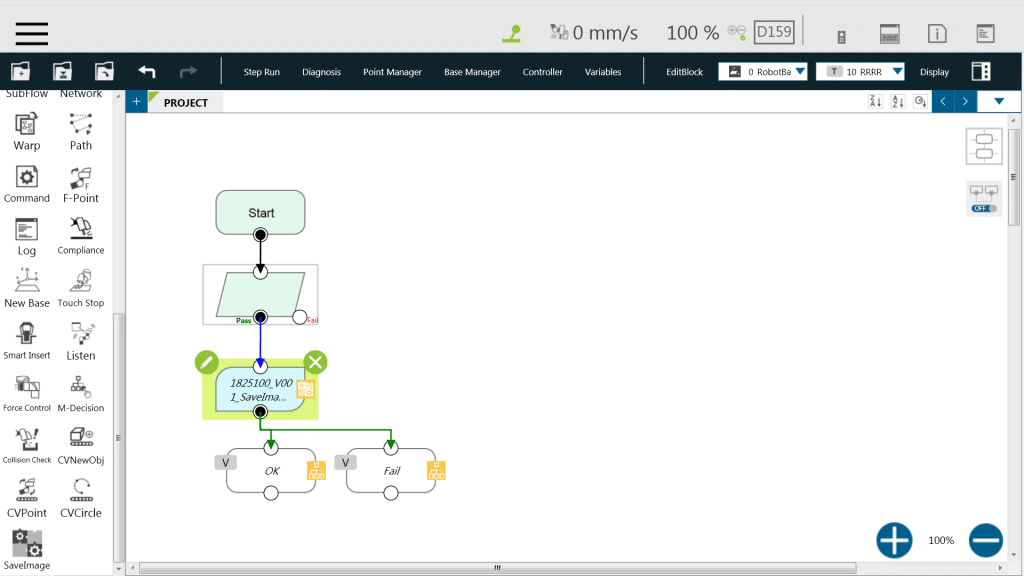
- Drop the Component into project from left side
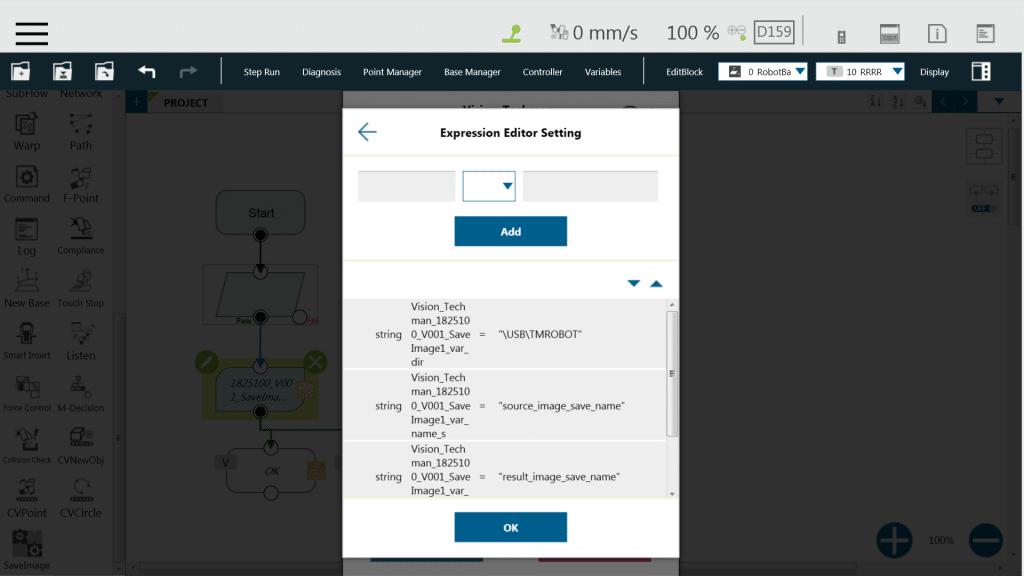
- Set the image path and name ( Note : Save images must be enabled when saving vision job, so that this Component can get image.)
| Item | Description | Example |
| Vision_Techman_1825100_V001_SaveImage_var_dir | Saved image path
Note: Only external storage device or Network Service path |
“\USB\TMROBOT\Image” |
| Vision_Techman_1825100_V001_SaveImage_var_name_s | Customize the name of the saved image (Source Image)
Note: Empty = Don’t save |
“source_”+var_SN |
| Vision_Techman_1825100_V001_SaveImage_var_name_r | Customize the name of the saved image (Result Image)
Note: Empty = Don’t save |
“result_”+var_SN |
| Vision_Techman_1825100_V001_SaveImage_var_name_time_out_ms | Time out | 3000 |

